Users Creation
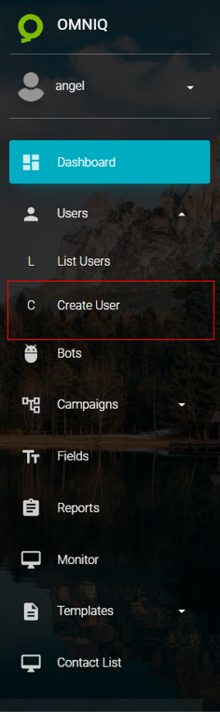
To start creating a user, click on the following icon:
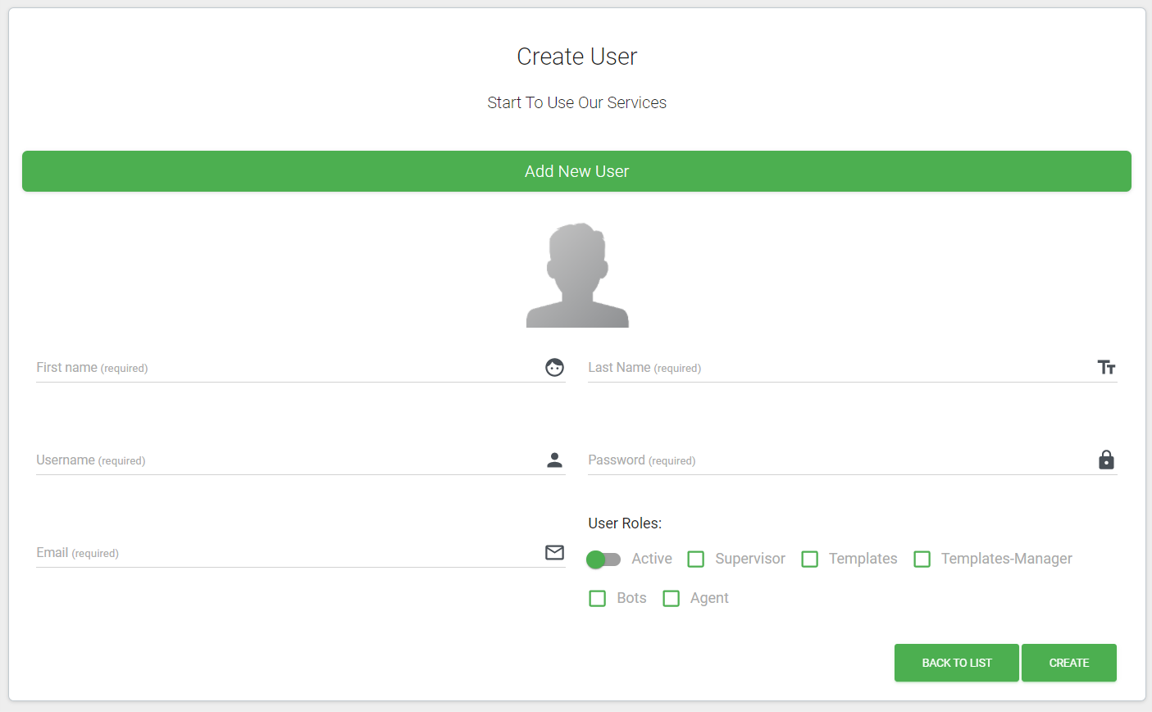
When selecting the add user icon, the following interface will be displayed, where all fields must be filled in correctly.
First Name
User's first name.Last Name
User's last name.Username
Username used to log into the application.Password
Password assigned for the user to access the application.Email
Active user email to establish communication when necessary to provide information or make changes to their access settings or profile.Supervisor
This role manages all available functions in Omni-Q. If this role is deactivated, the user will not be able to see any modules in the instance.Agent
The agent role is used to manage the chats assigned to the agent.Templates
The templates role allows the user to view the different templates available in the application.Templates Manager
The templates manager role allows the user to edit, create, and delete templates, as well as view them.Bots
The bots role allows the user to view, edit, and delete different bots and their corresponding campaigns.Once all fields have been entered correctly, click the "CREATE" button.
Field Definitions
Omni-Q rules do not allow the username to be edited once created.
Role Explanation
In Omni-Q, there are two types of roles, each with different levels of access to the application.
These roles are as follows: